Installation
Table of Contents
Installer Download
MacOS
- Install Docker Desktop for Mac (see below).
- Install Monadic Chat.
- 📦 Installer package for MacOS ARM64 (Apple Silicon) (0.7.5)
- 📦 Installer package for MacOS x64 (Intel) (0.7.5)
Windows
- 📦 Installer package for Windows (0.7.5)
Linux (Ubuntu/Debian)
- Install Docker Desktop for Linux (See Docker Desktop for Linux).
- Install Monadic Chat.
- 📦 Installer package for Linux (Ubuntu/Debian) x64 (0.7.5)
- 📦 Installer package for Linux (Ubuntu/Debian) arm64 (0.7.5)
How to Install Dependencies
MacOS
Install Docker Desktop
Next, install Docker Desktop, which is software for creating container-based virtual environments.
Choose on of the two different packages depending on your Mac’s CPU. You can check the type of CPU on the terminal with the following command:
$ sysctl -n machdep.cpu.brand_string
Download Docker Desktop from Install Docker Desktop on Mac, but for Intel, download Docker Desktop Installer.dmg, and for Apple Silicon, download Docker Desktop Installer Apple Silicon.dmg.

Double-click the downloaded dmg file. Then drag and drop the docker icon to the Applications folder to install it. Once the installation is complete, start Docker Desktop. When you start Docker Desktop first time, you will be asked to accept the service agreement (→ press accept), choose settings (→ use recommended settings), and allow privileged access to apply configuration (→ enter your Mac username and password).
Once everything has been set up, the Docker Desktop icon will appear in the task bar. After Docker Desktop has started, you may close the Docker Desktop Dashboard window if it is open.
Windows
Below, the method to install Monadic Chat on Windows 11 Home will be explained. The same method can be used for Windows 11 Pro and Windows 11 Education as well.
Install WSL2
First, install WSL2, which is a Linux environment for Windows.
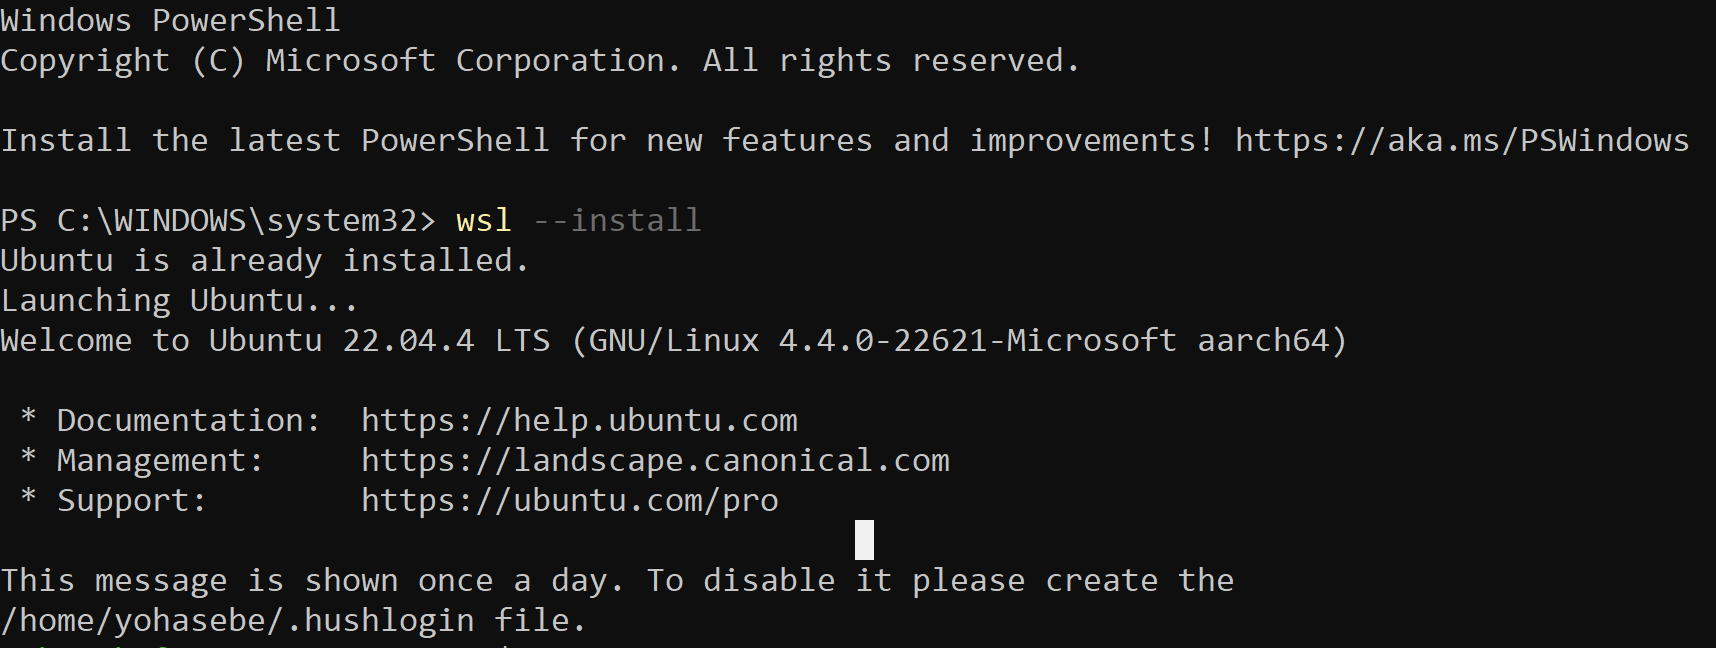
Open PowerShell in the administrator mode. To do this, search PowerShell (Start -> Windows PowerShell) and select “Run as administrator”.

Then execute the following command (the first > represents the command line prompt):
> wsl --install

Then reboot your computer. After rebooting, WSL2 and its default Linux distribution Ubuntu will be installed. During this process, you will be asked to enter a username and password for the Linux environment. Enter any username and password you like. You will need to remember this username and password later.
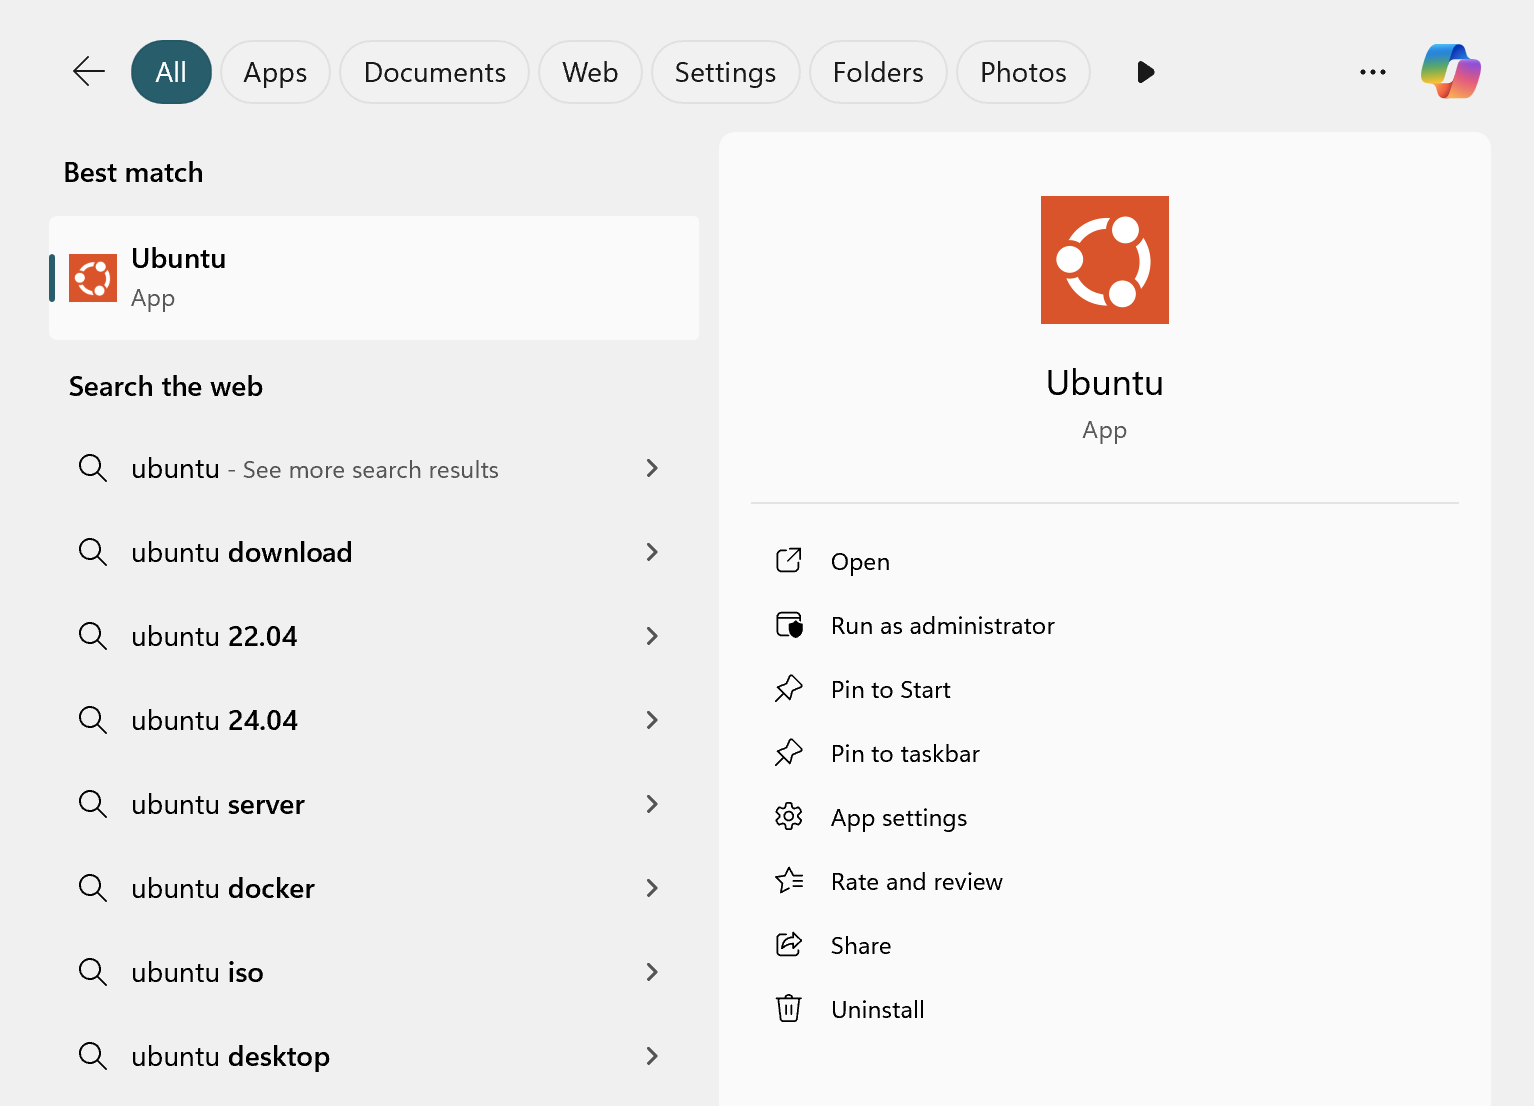
Now you have completed the installation of WSL2. You can start the Linux environment by searching for “Ubuntu” in the Windows search box and open the Ubuntu terminal.

Install Docker Desktop
Next, install Docker Desktop, which is software for creating container-based virtual environments.
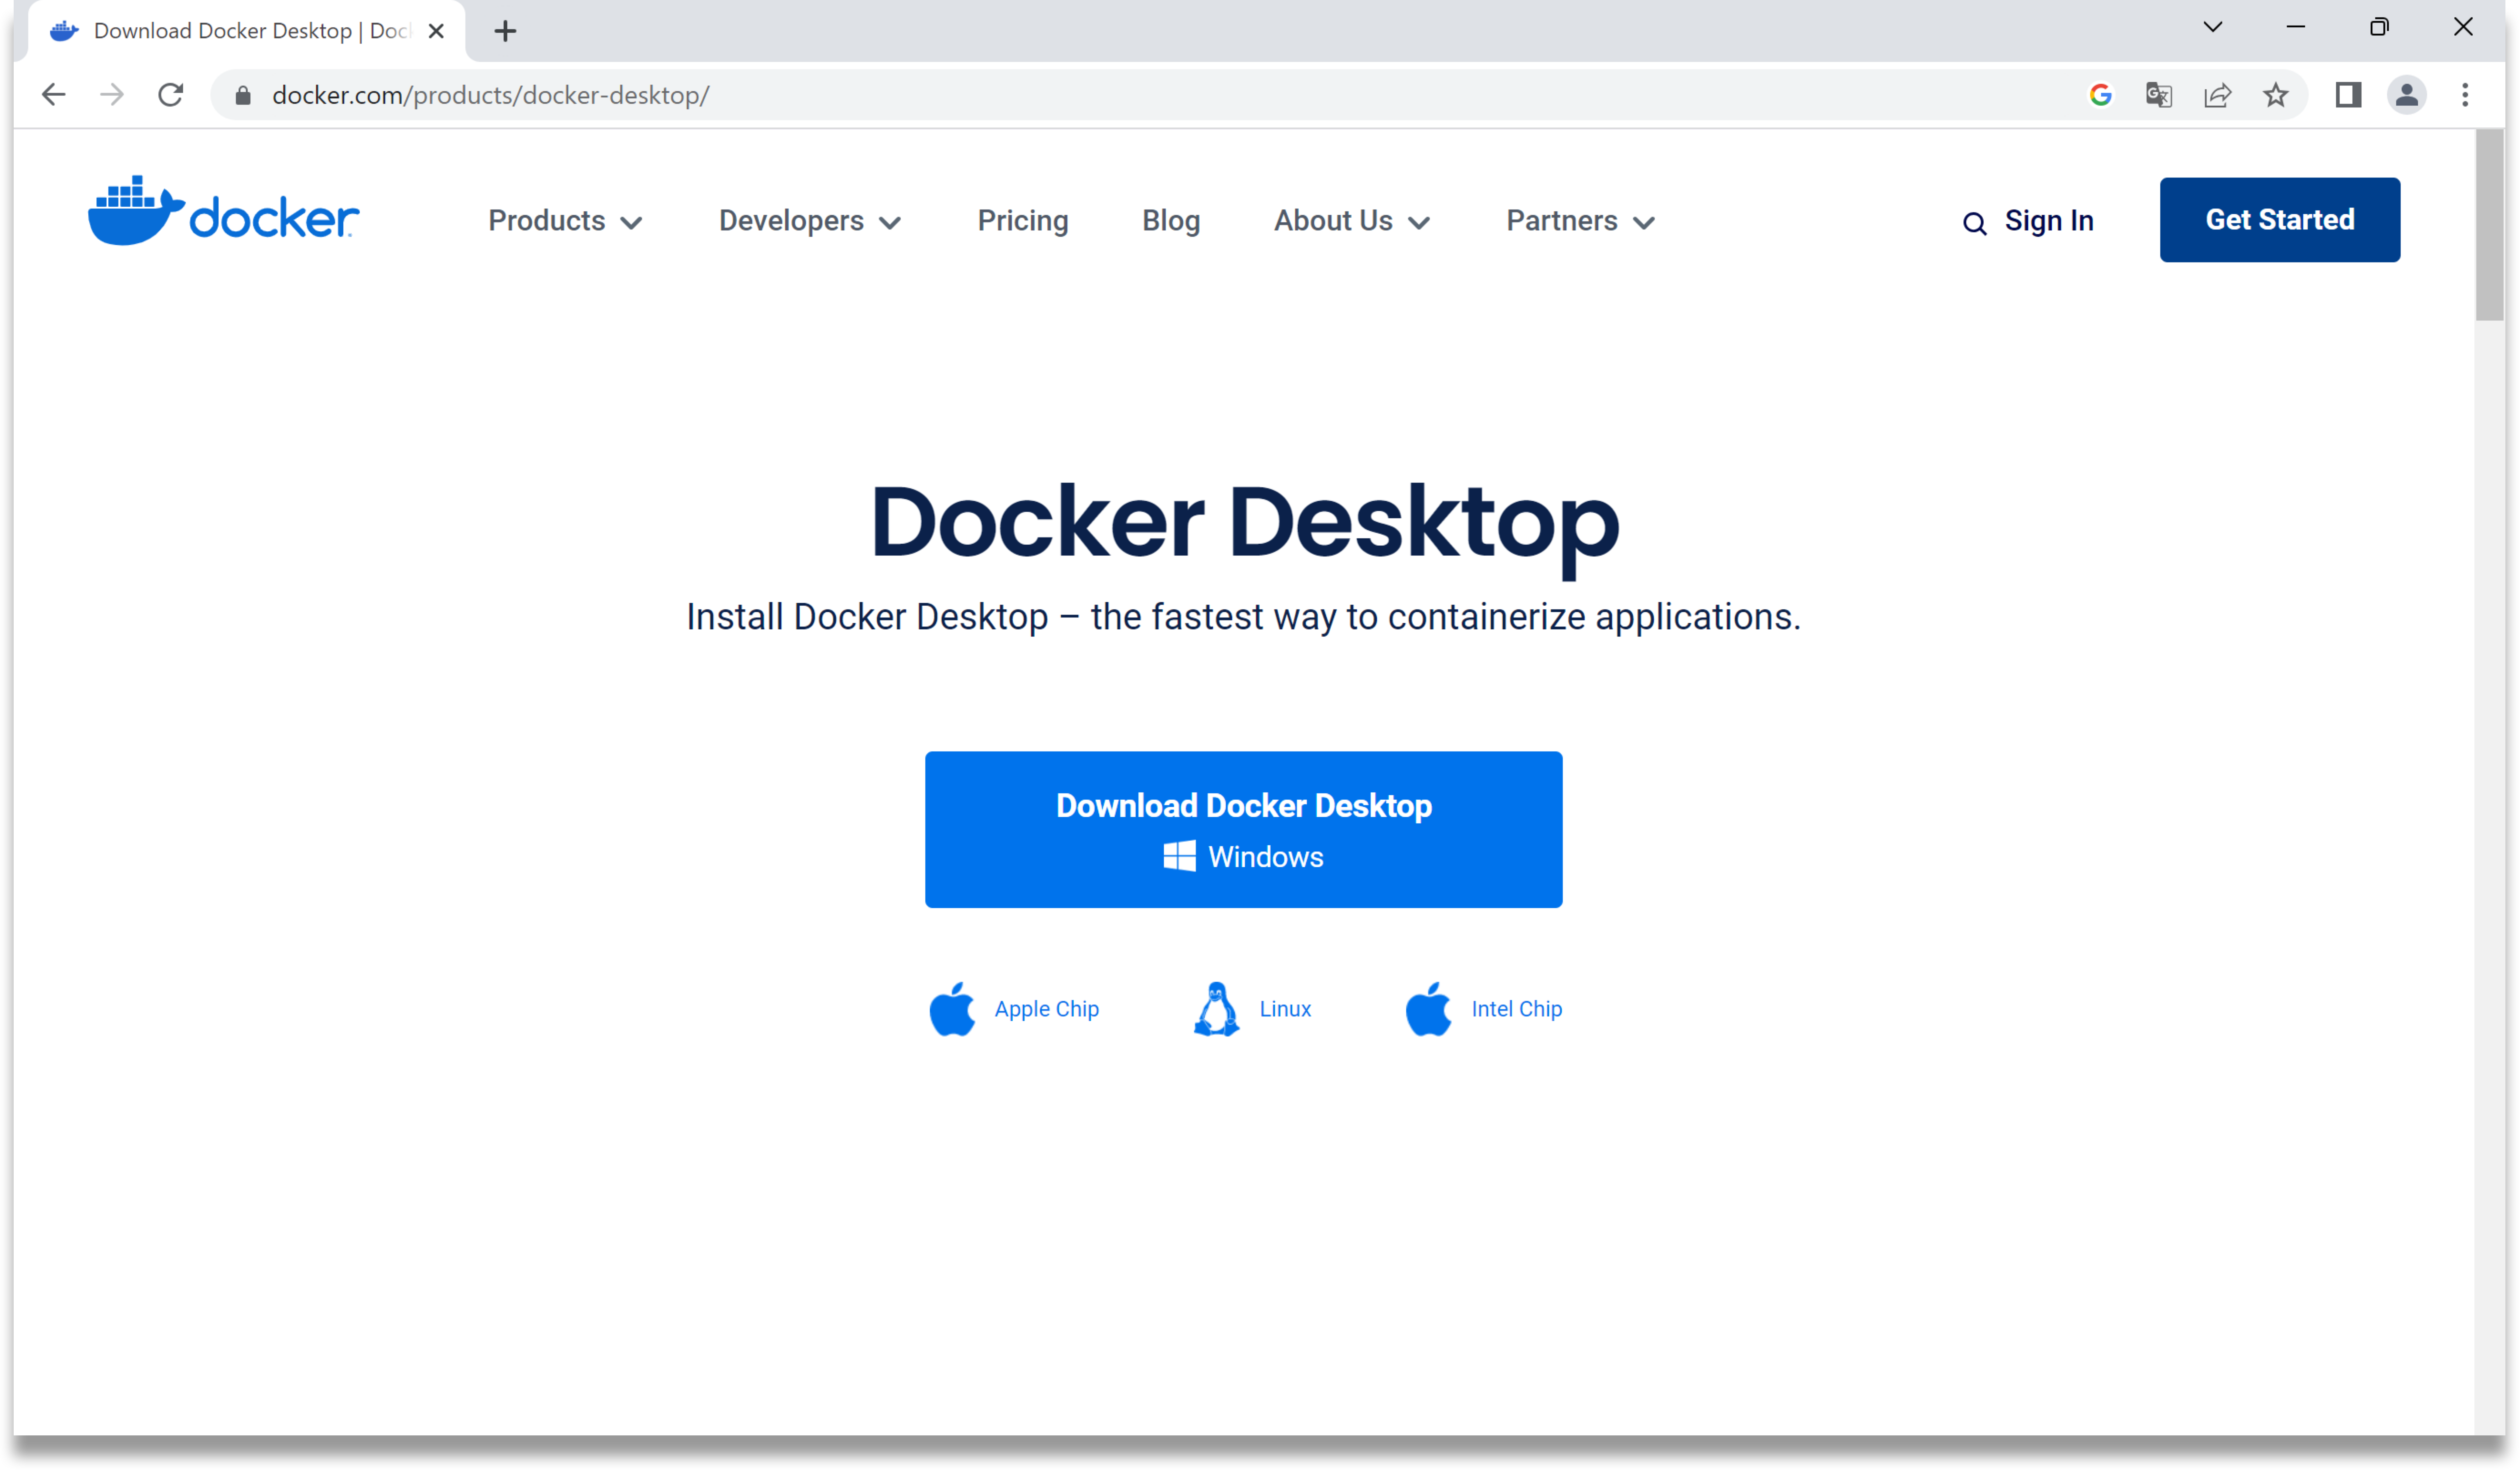
Download Docker Desktop from Install Docker Desktop on Windows.

Double-click the downloaded exe file. Once the installation is complete, start Docker Desktop. When you start Docker Desktop first time, you may be asked to accept the service agreement (→ press accept) and choose settings (→ use recommended settings).
Once everything has been set up, the Docker Desktop icon will appear in the task tray at the bottom right of the screen. After Docker Desktop has started, you may close the Docker Desktop Dashboard window if it is open.
How to Update
- Click
Check for Updatesin the menu. If an update is available, clickDownloadto download the latest version. - Quit Monadic Chat.
- Run the installer for the latest version.
How to Uninstall
- Click
Uninstall Images and Containersin the menu. This will remove the Docker containers and images shown below. - Quit Monadic Chat.
- For macOS, open the
Applicationsfolder in Finder and drag Monadic Chat to the trash. For Windows, uninstall Monadic Chat fromAdd or Remove Programs.
Trouble Shooting
In case of any trouble, updating or uninstalling Monadic Chat, remove the following Docker containers and images manually and try again.
Containers
monadic-chat-container
Images
yohasebe/monadic-chatyohasebe/pythonyohasebe/seleniumyohasebe/pgvector
